Chinese this week…
I’ve had a generic chinese army for several years. I think it has done service as Sui, Tang, ShaTao Turkish, CATs, CACs, Yuan and even Later Hsung-Nu at times. Anyway, I decided to take it to this year’s Warfare competition as a Ming army in the ‘Wrath of Khan’ section. It’s a solid army but usually suffers in Book 4 against the late European KnS/BdS/BwS monsters. ‘Wrath of Khan’ was fairly tightly themed – it looked like there would be mostly armies with CvS/LhS, in which something with heavy infantry might do quite well……
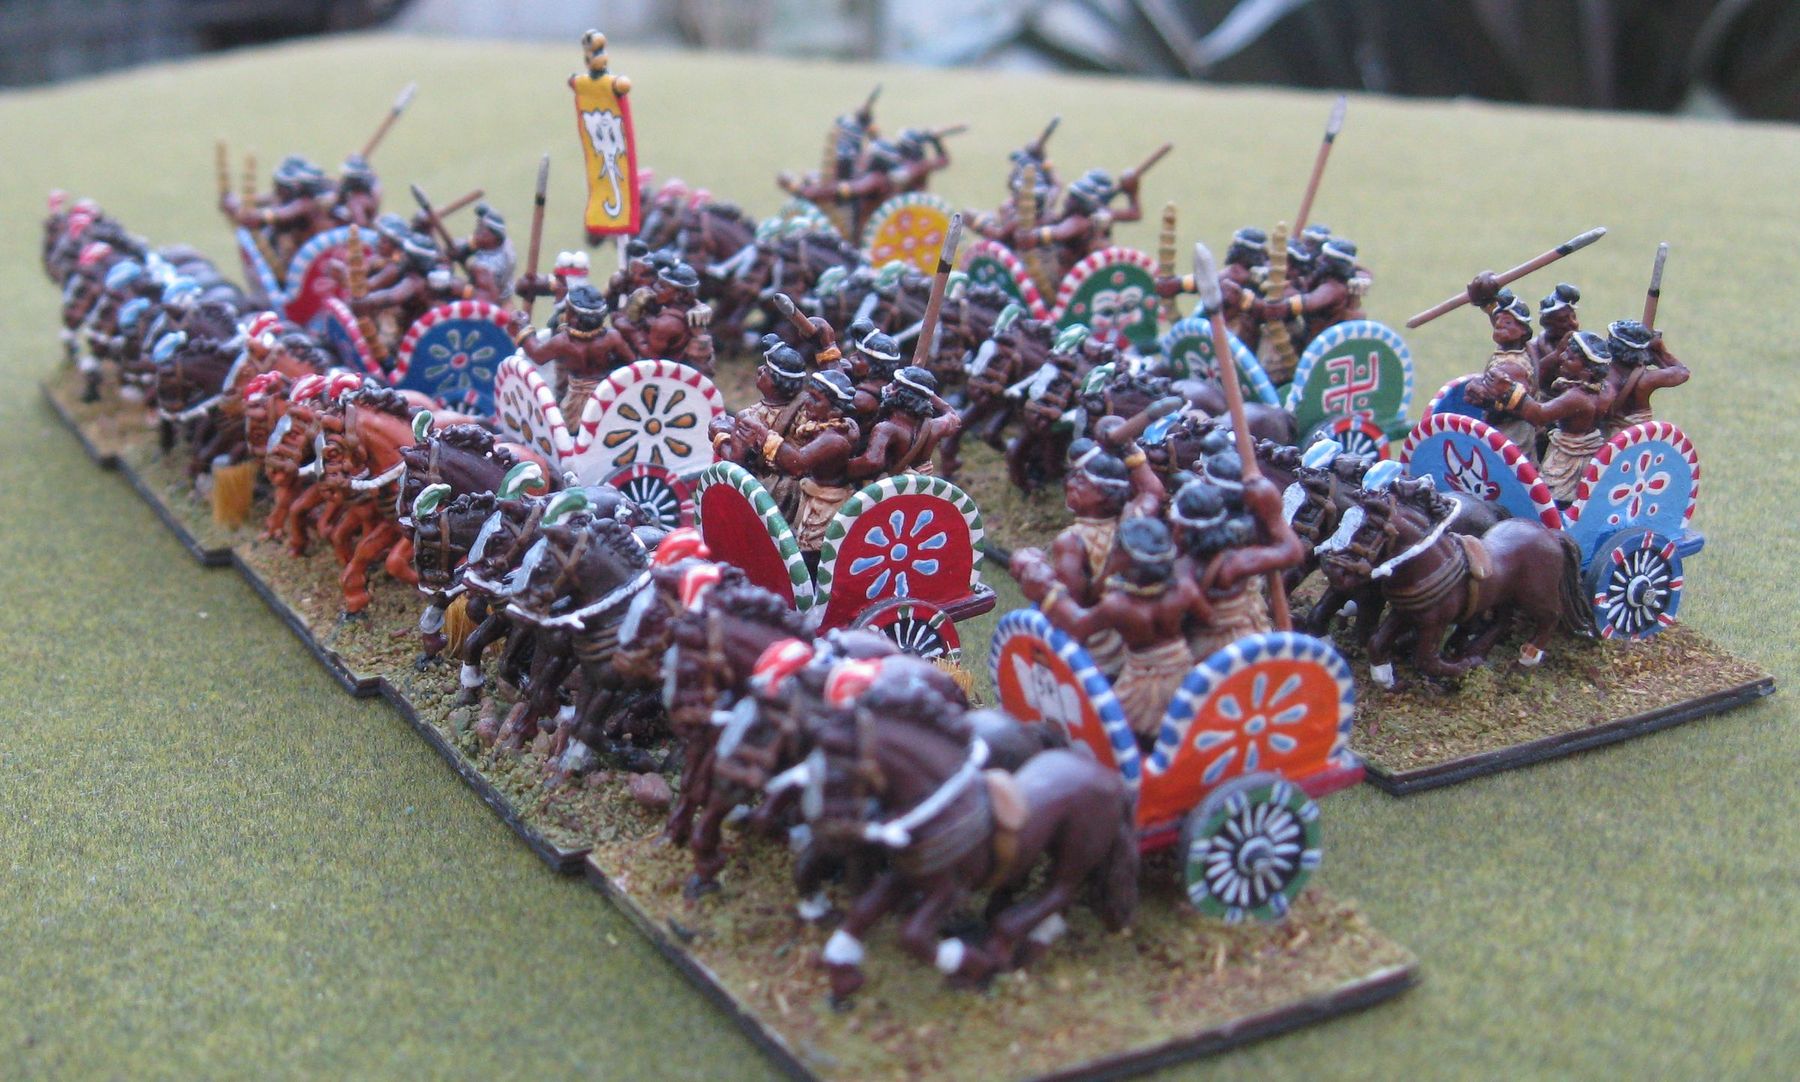
First the BwX. These are from the Outpost Ching/Manchu range. Quite nice figures in brigandine armour. The shields are scratch built from plastic – probably too big, but I wanted 2Sp/2Bw on the base (as single based BwX) and narrow shields looked wimpy.
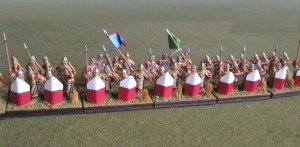
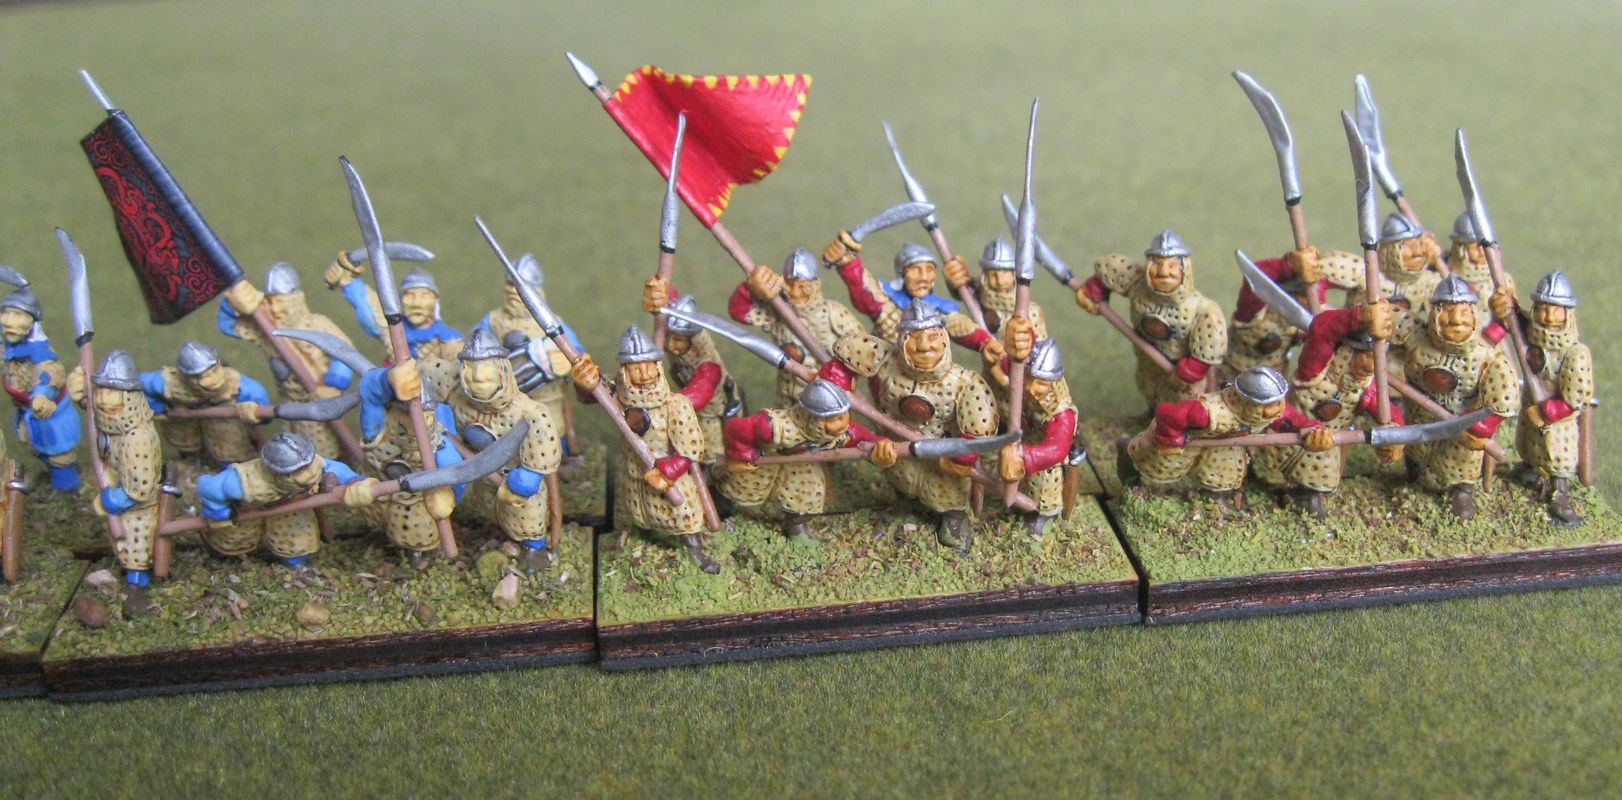
Next the Halberders (BdO). I like these guys- lots of movement- but the figures are big and it is hard to squeeze four on a base. I replaced the supplied halberds with something more substantial. The blades are made from 0.9mm bore syringe needles, flattened and curved with pliers and then filed down. You have to file the points down or they can cut large gashes in your fingers….

These are the Outpost swordsmen (BdF). The shields are transfers from LBM – I think the flower is from one of the Byzantine sheets. These are fairly versatile figures that often double as generic eastern auxillia.

BdF and BdO together…

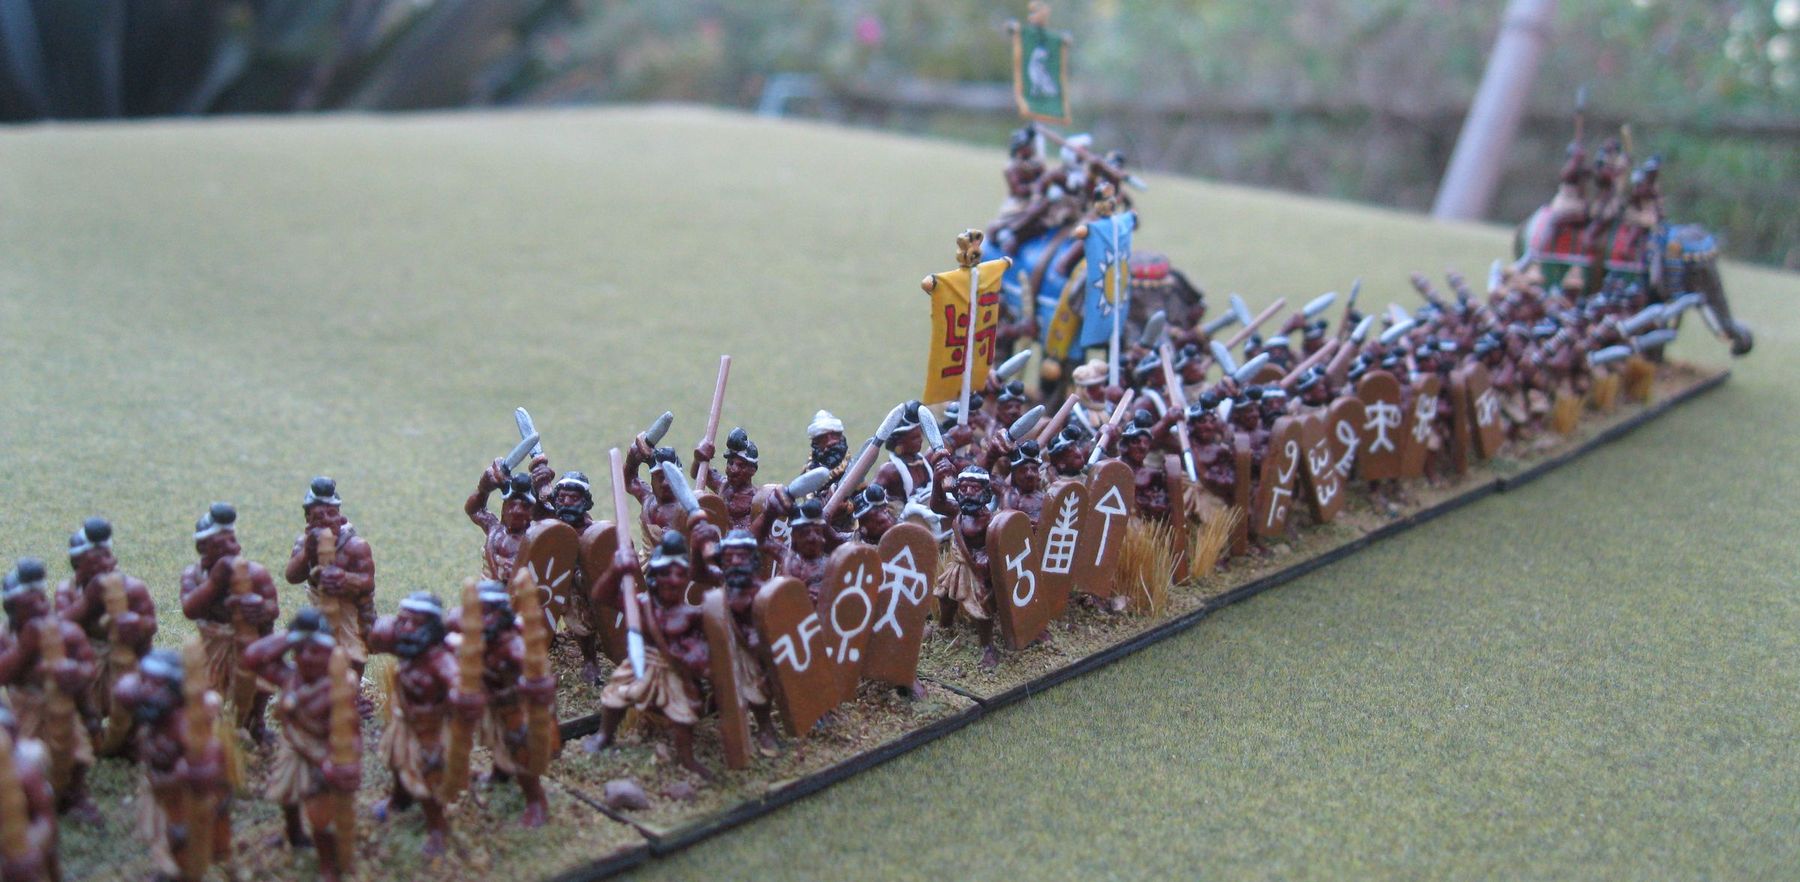
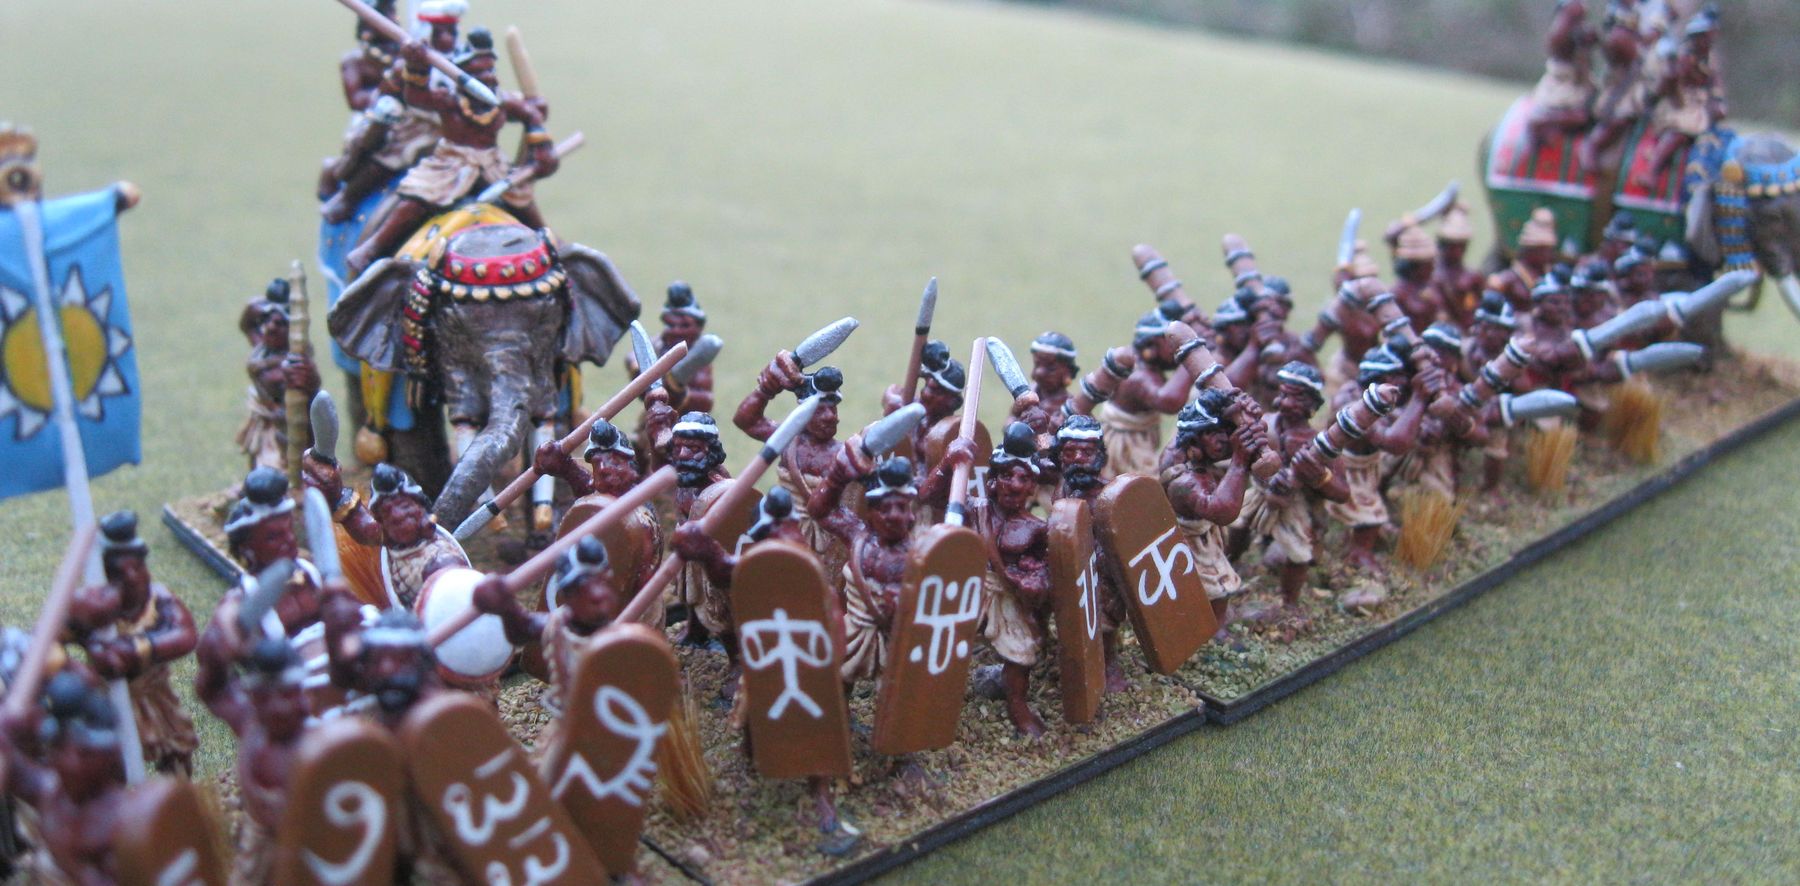
Shot Inferior: the main reason for taking the Ming. I’d never used shot before, but they looked like a killer high-factor troop – ideal for dispensing with elephants and KnS…
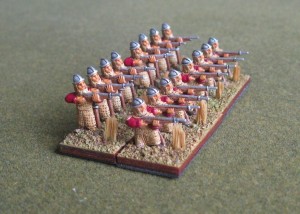
Lastly some handgunners (PsS). I decided not to take PsS with the Ming (too many better goodies) but I use these in the Yuan version of the army. The figures are from Grumpy miniatures that I picked up from East Riding miniatures many years ago.

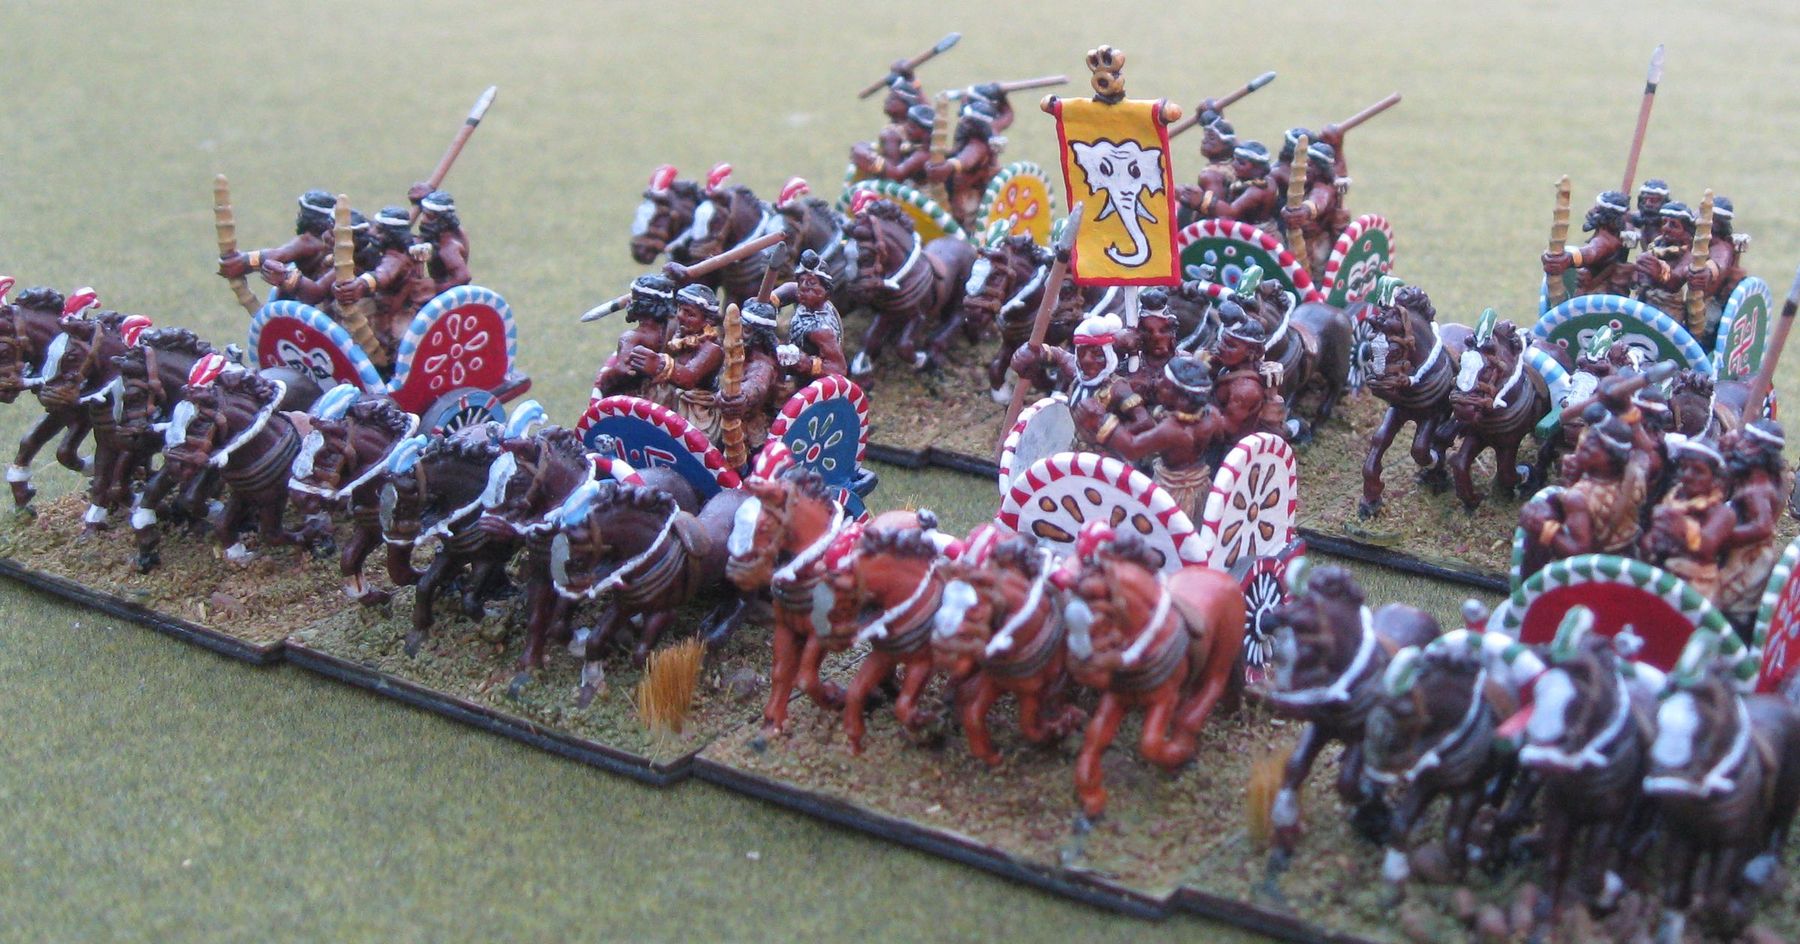
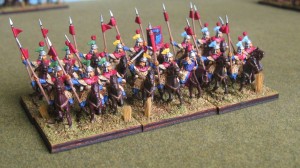
Lancers (KnF) and mounted swordsmen (CvO) from Outpost.
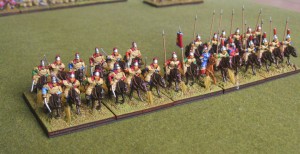
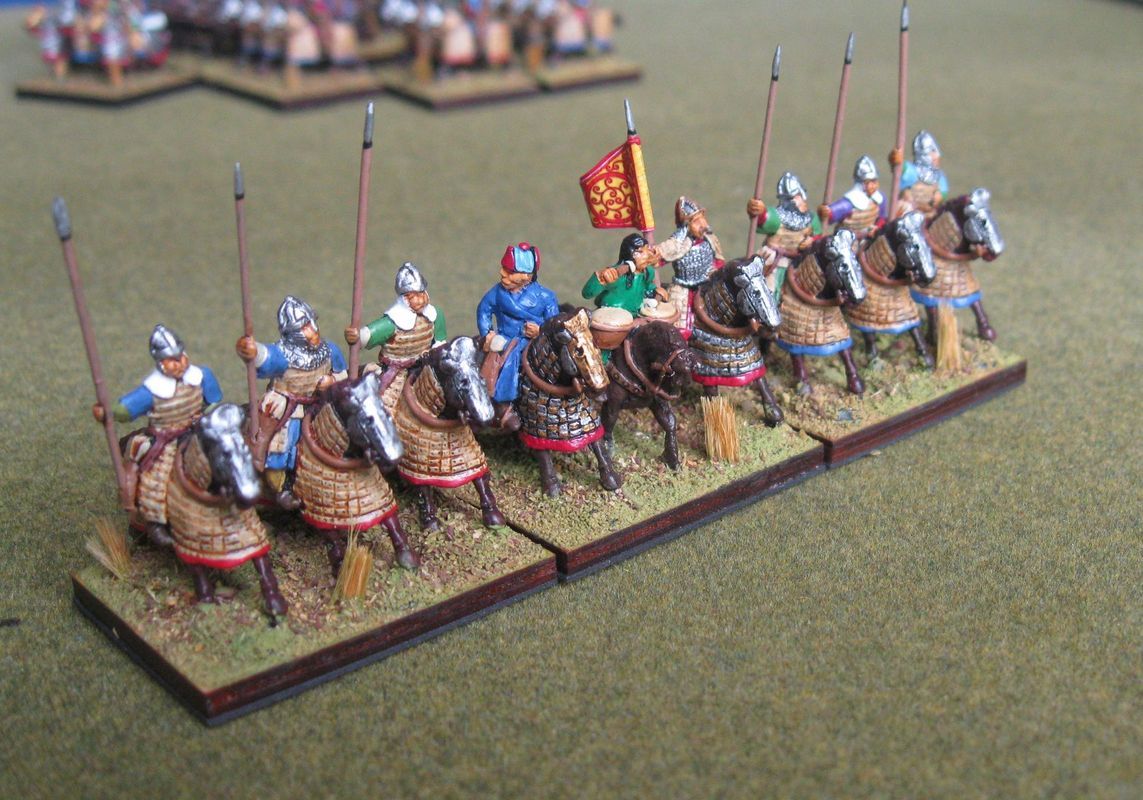
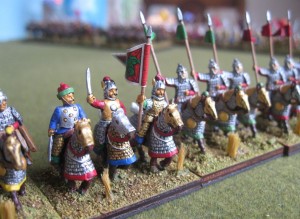
A general with some heavy cavalry (CvS). These are from the Outpost Turkish ranges.

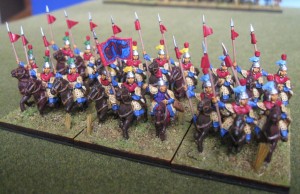
Massed CvS and some unarmoured (CvO) horses above.
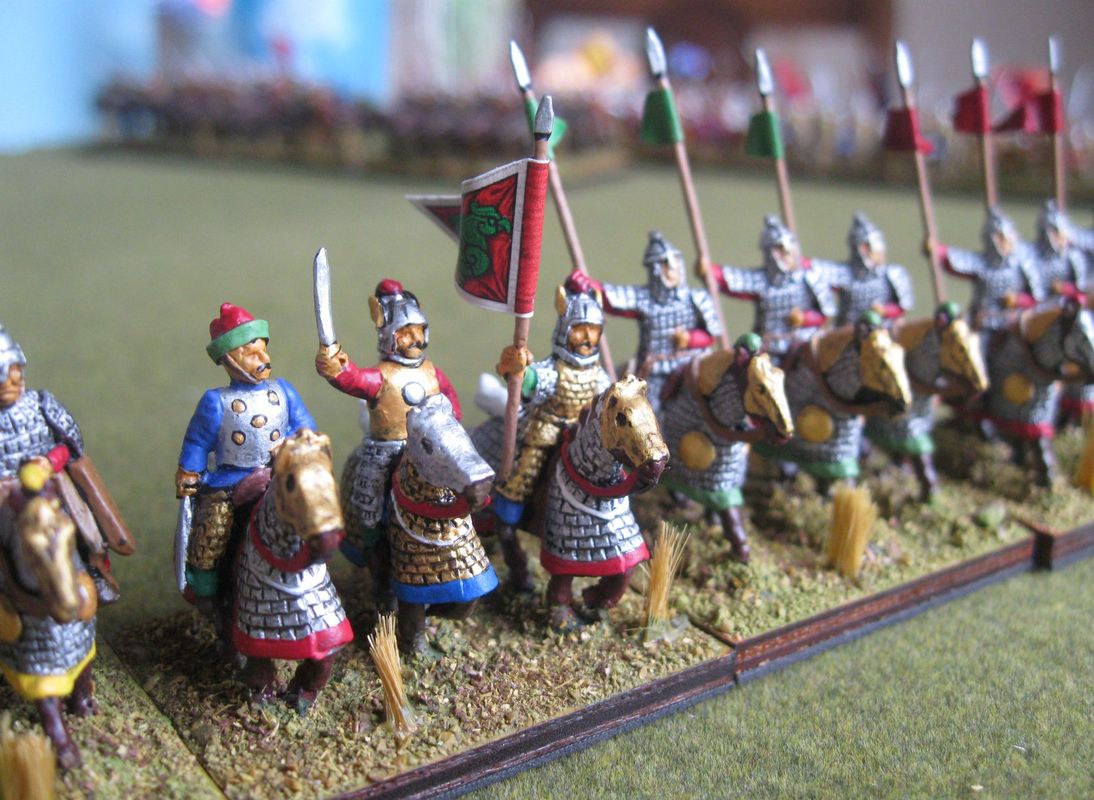
Heavy cataphracts. These usually are fielded in the Sui/Tang versions of the army, though I think the figures on the general’s element are from the Toullier Korean range.
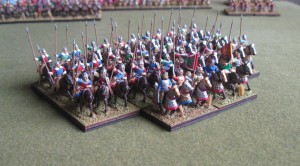
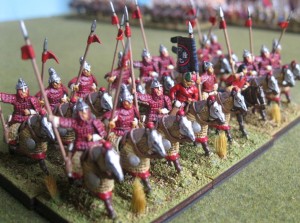
Below are my favourite unit – Red lancers from the Outpost Turkish range again. These boys generally fight as Chinese CvS and usually do well…
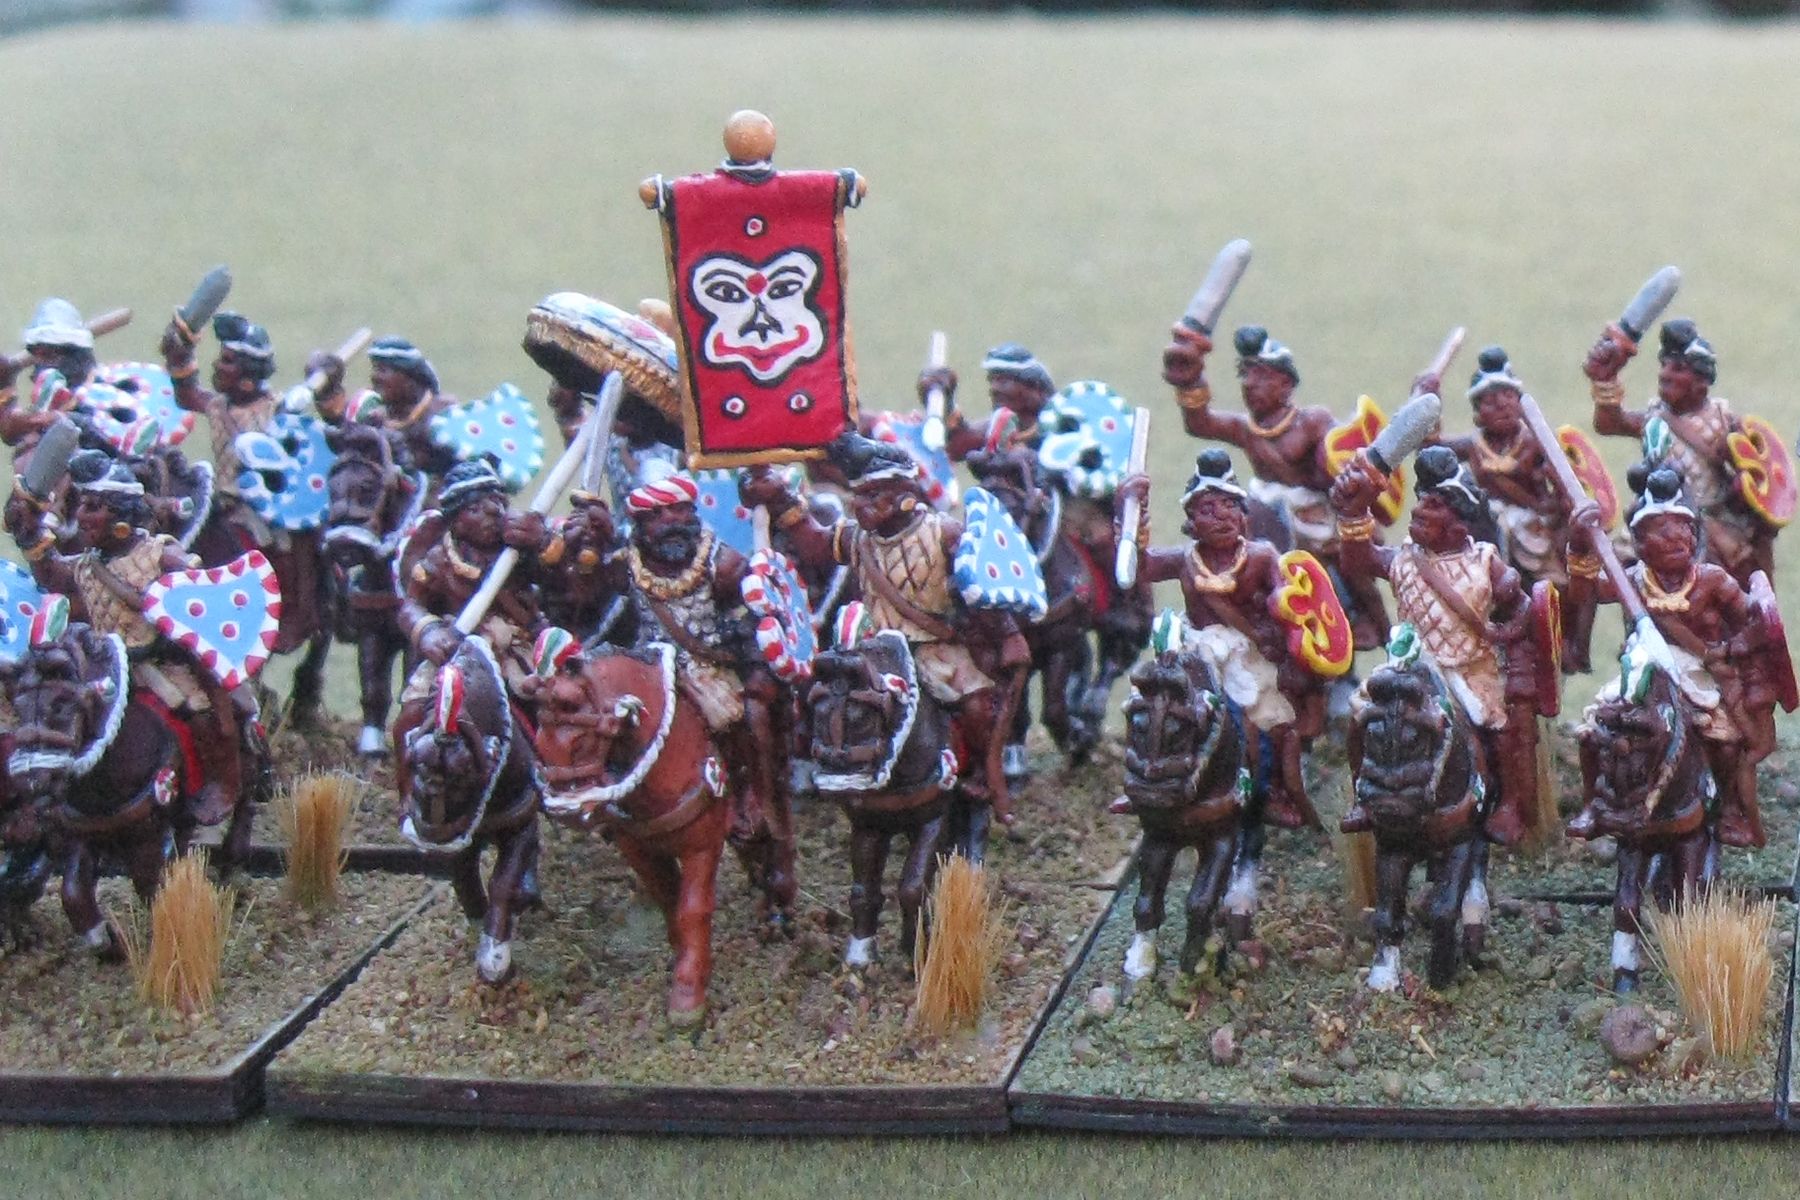
Light horse – the first are Mongols from the Manchu range, the second are MoHo from the Tang range.


More Grumpy miniatures below. I much preferred the mounted to the infantry – most of which I still haven’t painted up. The Ming heavy cavalry are nice though- I love the little flags they have on their hats! The halberd armed CavO are also nice. I like the halberd – it gives a nice way to differentiate troops clearly on the table – CvS with a lance, CvO without.

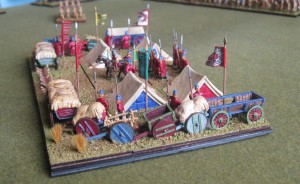
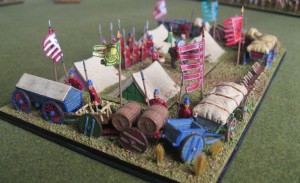
Lastly the camp. For Warfare I wasn’t taking fortified baggage, but I made this lot for the Tang (who usually do). The tents are from Baueda, the wagon laager is mostly from Hallmark (supplied by Magister Militum) and the banners are LBM transfers. The baggage guards and the officer are probably from the Outpost Tang range. It represents 6 x BgO surrounded by 7TF. The wagon laager obviously works since I don’t think the baggage has ever been sacked….

Well that’s it. If I find time I’ll write up how they got on at Warfare…
Dave.